


How to scan fragile photos without damage
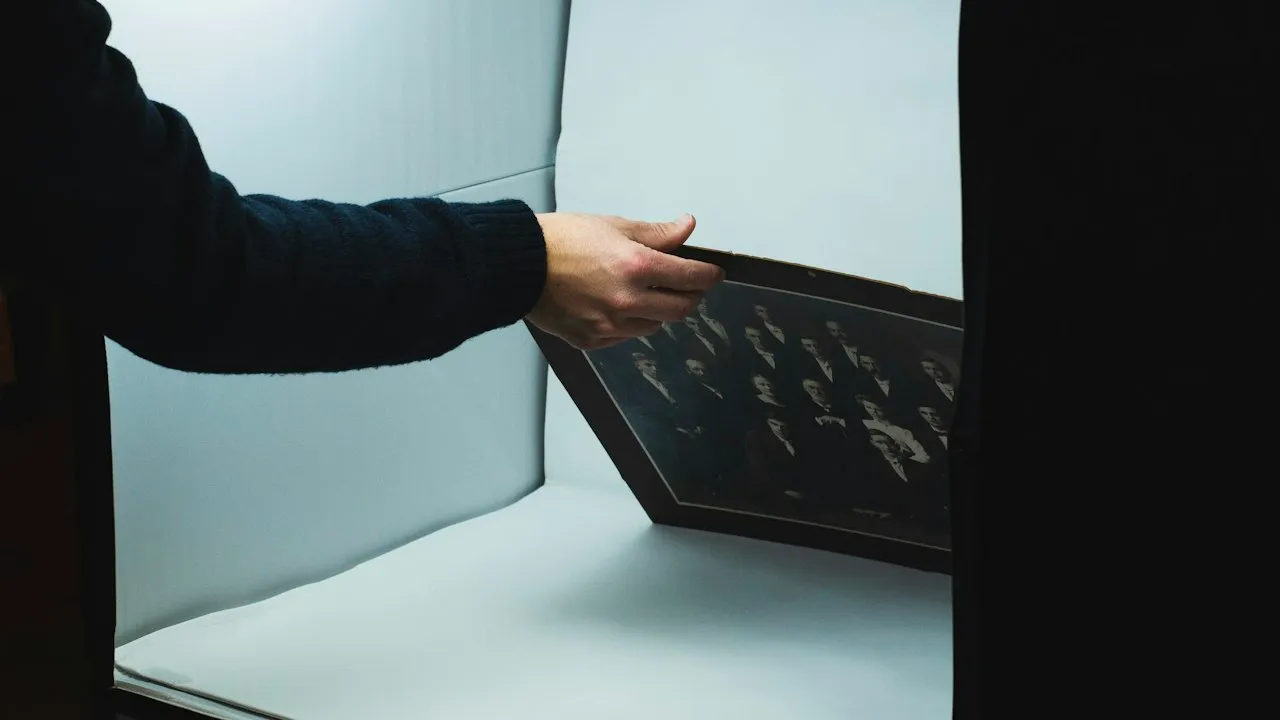
Fragile photographs often carry irreplaceable family, cultural, or professional value. Their paper fibres, emulsions, inks, and mounting materials may have weakened through age, moisture, heat, or repeated handling. With the right preparation and scanner settings, you can create high-quality digital copies while keeping physical contact and stress to a minimum.
Begin by assessing the photograph’s condition
Before placing any photograph on a scanner, inspect it under soft, indirect light. Look for lifting corners, cracks, curled edges, flaking surfaces, mould, stuck-on debris, or signs that the image is attached to glass or another print. A photo with a stable surface can usually be scanned at home with care. A severely damaged print may require a conservator or specialist digitisation service.
Avoid touching the image area directly. Clean, dry hands are often safer than cotton gloves, which can reduce grip and cause accidental bending. If a photograph has a glossy, delicate, or flaking surface, use nitrile gloves and hold it only by the outer edges.
Do not attempt to flatten a tightly rolled, folded, or curled photograph by force. Pressure can crack the emulsion or split brittle paper. Instead, allow the print to rest in a clean, dry room for a short period. If it remains curled, scan it with minimal pressure rather than trying to make it perfectly flat.
Prepare a clean scanning surface before handling prints
Dust, grit, and fingerprints on the scanner glass can scratch a photograph or create distracting marks in the final file. Switch off and unplug the scanner before cleaning it. Use a soft microfibre cloth, then gently wipe the glass with a small amount of lens cleaner applied to the cloth, never directly to the scanner.
Wait until the glass is fully dry. Check for fibres, smears, or cleaning residue by viewing the surface from an angle. The scanner lid should also be clean, especially when working with prints that have a glossy finish.
For delicate materials, avoid placing anything heavy on top of the photograph. If the scanner lid presses too firmly against the print, leave it open and cover the scanning area with a clean piece of black, acid-free card held above the image. This blocks stray light without compressing the photo.
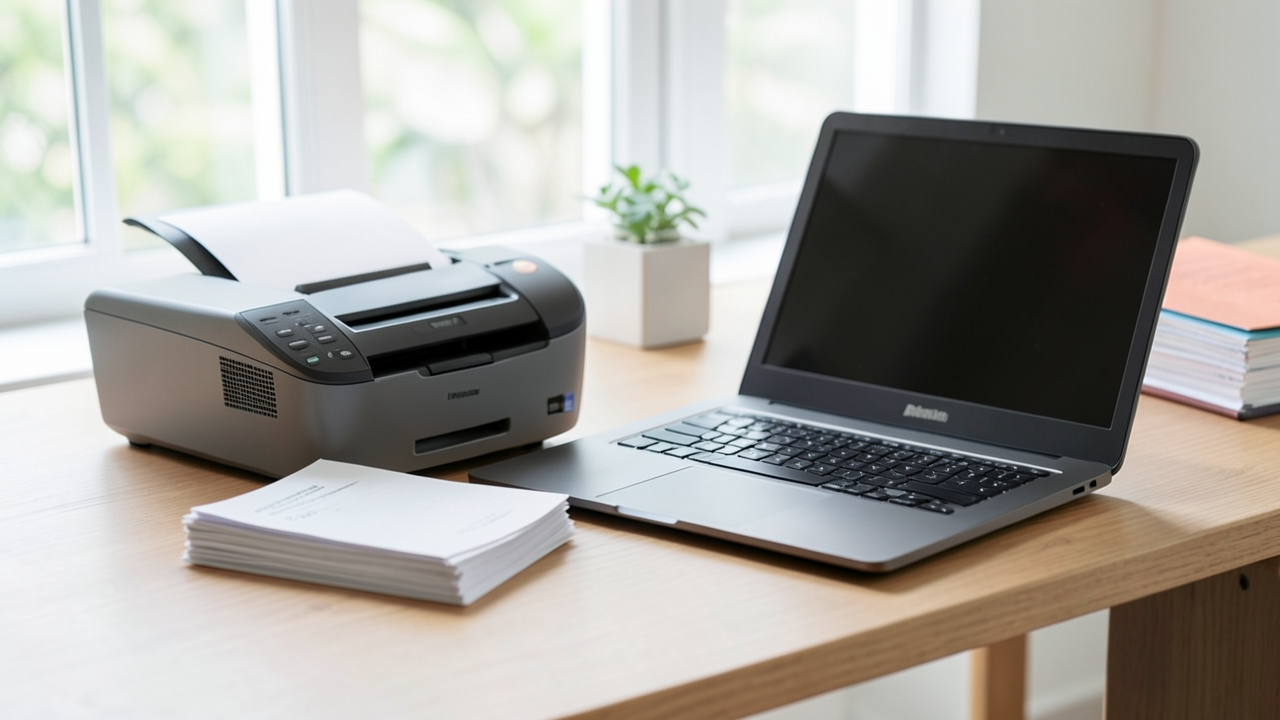
If you are selecting equipment for regular archival tasks, How to choose the right scanner for home and office use offers useful guidance on scanner formats, resolution, and practical features.
Use a flatbed scanner whenever possible
A flatbed scanner is generally the safest option for fragile printed photographs. It allows the image to lie still on a flat surface, unlike feed scanners that pull documents through rollers. Roller mechanisms can crease brittle prints, catch torn edges, or remove loose surface material.
Place the photo face down on the glass with slow, controlled movements. Support the print with both hands if it is large or flexible. Never slide it across the scanner bed, as hidden grit may scratch the image surface.
Choose settings that preserve detail without repeated scans
Set the scanner to photograph or colour mode, even when scanning black-and-white prints. Colour scanning preserves subtle paper tones, stains, annotations, and fading that may be useful for restoration later.
For most standard photographs, scan at 600 dpi. This produces a detailed master file suitable for enlargements and careful editing. For very small prints, contact sheets, or images with fine detail, 1,200 dpi may be appropriate. Higher settings create larger files and longer scan times, but they do not always reveal more usable information.
Save your archival master in TIFF format when possible. TIFF files retain more image data and avoid the compression artefacts associated with JPEG. You can then create smaller JPEG copies for sharing with relatives, uploading to websites, or sending by email.
Use preview mode before the final scan. Crop carefully, but retain a narrow border around the photograph if there are handwritten notes, studio marks, or decorative edges. These details can help identify dates, places, and photographers.
Limit exposure to light and heat
Scanner lamps produce light and a small amount of heat. A single scan is unlikely to harm a stable print, but repeated scanning sessions add unnecessary exposure. Set your resolution and colour preferences first, then make one or two well-planned scans rather than repeatedly adjusting the image.
Disable automatic enhancements if they alter the original appearance too aggressively. Features such as dust removal, sharpening, colour correction, and fade restoration can be helpful for copies, but preserve an untouched master scan first.
Handle mounted, torn, and unusually delicate photographs with care
Photographs mounted on card require extra attention because old mounts can warp, split, or shed fibres. Place them carefully on the scanner bed and do not force the lid closed. If the mount is thicker than the scanner’s usual working height, use an overhead camera setup or seek specialist support.
For a torn print, do not use adhesive tape before scanning. Tape can stain paper, leave residue, and make later conservation more difficult. Scan the pieces separately or position them gently together without overlapping. Image-editing software can reconstruct the appearance digitally while leaving the original untouched.
Photos stuck to album pages should remain in place. Pulling them free can tear the print or damage the album. Scan the full page if it can lie safely on a flatbed, or photograph it using a camera stand, even lighting, and a remote shutter release.
Store your scans so they remain easy to find
Digitisation protects the visual content, but only if your files are organised and backed up. Use a consistent naming format, such as 1958-07-family-picnic-lake-district-01.tif. Add known names, locations, and approximate dates to file metadata or a separate catalogue.
Keep at least two copies of your archive in separate locations. One may sit on an external drive, while another can be stored in a reputable cloud service. For practical methods to keep a growing archive manageable, see How to organize files across cloud storage.
You should also retain the physical prints in archival sleeves or acid-free boxes, stored in a cool, dry, dark location. Digital copies reduce handling, while the original remains the primary historical object.
Protecting family photographs for the years ahead
Safe scanning relies on patience rather than pressure. A clean flatbed scanner, thoughtful settings, and careful handling can preserve fragile photographs in digital form without risking further damage.
- Use a flatbed scanner instead of a roller-fed device for old prints.
- Clean and dry the scanner glass before every session.
- Scan colour and black-and-white photos in colour mode.
- Create a TIFF master at 600 dpi for most standard photographs.
- Avoid forcing curled prints flat or closing the lid on thick mounts.
- Keep original files, edited copies, and backups clearly organised.