



Choosing sandpaper grit for wood: a smarter workshop workflow
Choosing the right sandpaper grit for wood saves time, protects the surface, and produces a more even finish. The basic rule is simple: coarse paper removes material, medium paper smooths it, and fine paper refines it. Yet the best sanding sequence depends on whether you are stripping paint, correcting a warped board, preparing bare timber for stain, or sanding between coats of finish.
Start with the condition of the wood
Inspect the surface before selecting an abrasive. Old varnish, paint, glue residue, deep scratches, and uneven joints require a different starting grit from clean, freshly planed timber. Starting too fine wastes effort, while starting too coarse can leave scratches that remain visible after staining or varnishing.
For workshop supplies and practical project research, View the site. A search-focused online resource can help you compare abrasive formats, locate sanding accessories, and identify tools suited to a particular task. When looking for discs, sheets, sanding blocks, or extraction-compatible accessories, use precise search terms such as “125 mm orbital sanding discs” or “wood sanding grit for stain” to narrow the results.
“A smooth finish is built in stages, not forced with one abrasive.”
Coarse grits remove finishes and correct defects
Coarse sandpaper generally ranges from 40 to 80 grit. Use it when the wood has thick paint, old varnish, stubborn adhesive, pronounced milling marks, or significant unevenness. Grits around 40 or 60 remove material quickly, making them suitable for stripping robust surfaces or flattening a rough board.
However, coarse abrasives are aggressive. Avoid them on veneers, thin furniture components, delicate mouldings, and already-flat bare wood. A few extra passes can cut through a veneer layer or round over sharp edges that should remain crisp.
For many renovation jobs, 80 grit is a safer coarse starting point. It can remove remnants of an old coating and level minor defects without cutting as deeply as 40 grit.
Move through medium grits to prepare the timber
Medium sandpaper, usually between 100 and 150 grit, bridges the gap between rough correction and finishing. After using 60 or 80 grit, progress to 100 or 120 grit to remove the scratches left by the previous abrasive. Then use 150 grit when you need a cleaner, more uniform surface.
Skipping directly from 60 to 180 grit often leaves coarse scratch lines behind. They may be difficult to spot on pale raw timber, but stain, oil, and clear varnish can make them stand out. Each grit should erase the marks created by the grit before it.
For bare softwood such as pine or spruce, 120 to 150 grit often provides a suitable stopping point before stain. Sanding far beyond this range can compress the softer fibres, sometimes called burnishing. The result may be patchy stain absorption or areas that appear lighter than the surrounding wood.
Hardwoods such as oak, maple, and beech can often be prepared at 150 grit, although the chosen product matters. Read the finish manufacturer’s guidance when available, particularly for dyes, stains, and hardwax oils.
Use fine grits for final finishing, not for major repairs
Fine sandpaper begins around 180 grit and is commonly used for final surface refinement. Grits from 180 to 220 work well before clear finishes, especially where a smooth touch is desired. For painted furniture, 180 grit can smooth primer, while 220 grit can prepare the final paint coat.
Very fine grits, such as 320 or 400, are mainly useful between coats of varnish, lacquer, or paint. Sand lightly to remove dust nibs and improve adhesion, then clean the surface thoroughly. These grits are not the right choice for stripping paint or flattening rough lumber.
A practical sequence might look like this:
- Rough, painted furniture: 80, 120, 180 grit.
- Uneven bare wood: 80, 120, 150 grit.
- New timber before staining: 120, then 150 grit.
- Timber before clear varnish: 120, 150, then 180 or 220 grit.
- Between finish coats: 220 to 320 grit, using minimal pressure.
Let workshop technology support your sanding decisions
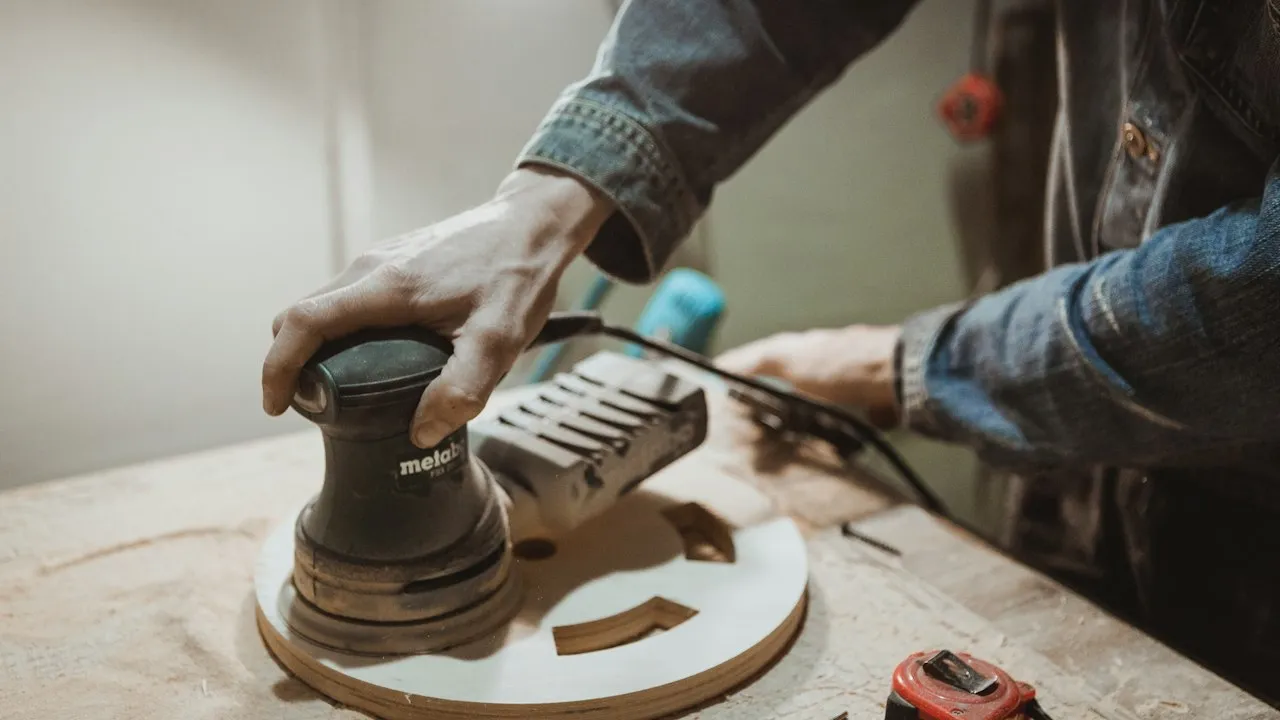
An orbital sander speeds up broad, flat surfaces, but it does not choose the correct grit for you. Fit the appropriate disc for the task, keep the pad flat, and allow the tool’s motion to do the work. Pressing down heavily can create swirl marks, heat the surface, and wear out the abrasive prematurely.
Dust extraction also improves the quality of sanding. A vacuum-connected orbital sander keeps abrasive discs clearer, reduces airborne dust, and makes surface flaws easier to see. Clogged paper cuts less effectively and can produce inconsistent scratch patterns.
Good task lighting matters just as much. Use a bright side light, sometimes called raking light, to reveal scratches, dips, glue marks, and remaining finish. Digital surface inspection tools and camera-based workshop systems can help identify defects on repeated production work, but your hand and eye remain the final check for a DIY project.
A reliable sanding workflow delivers cleaner wood finishes
Choose the starting grit based on the surface condition, then work progressively toward the finish you plan to apply. Do not sand more finely merely because finer paper is available. The correct endpoint is the grit that supports your stain, paint, oil, or clear coat.
Key points to keep in mind:
- Coarse grits remove material, old finishes, and major defects.
- Medium grits remove earlier sanding marks and prepare the wood.
- Fine grits refine surfaces before finishing or between coats.
- Move through sensible grit steps rather than skipping several grades.
- Use dust extraction, orbital sanders, and strong lighting to improve consistency.
- Stop sanding before the wood becomes burnished or loses stain absorption.
With a measured grit sequence and clean working conditions, you can achieve a smoother surface, more even colour, and a finish that looks intentional rather than overworked.